Tuesday, July 30, 2013

More construction!

We’re even closer to finishing the expansion! Thanks to all the hard work of construction workers and a helpful staff, things are moving right along!

Here are some pictures of our progress.


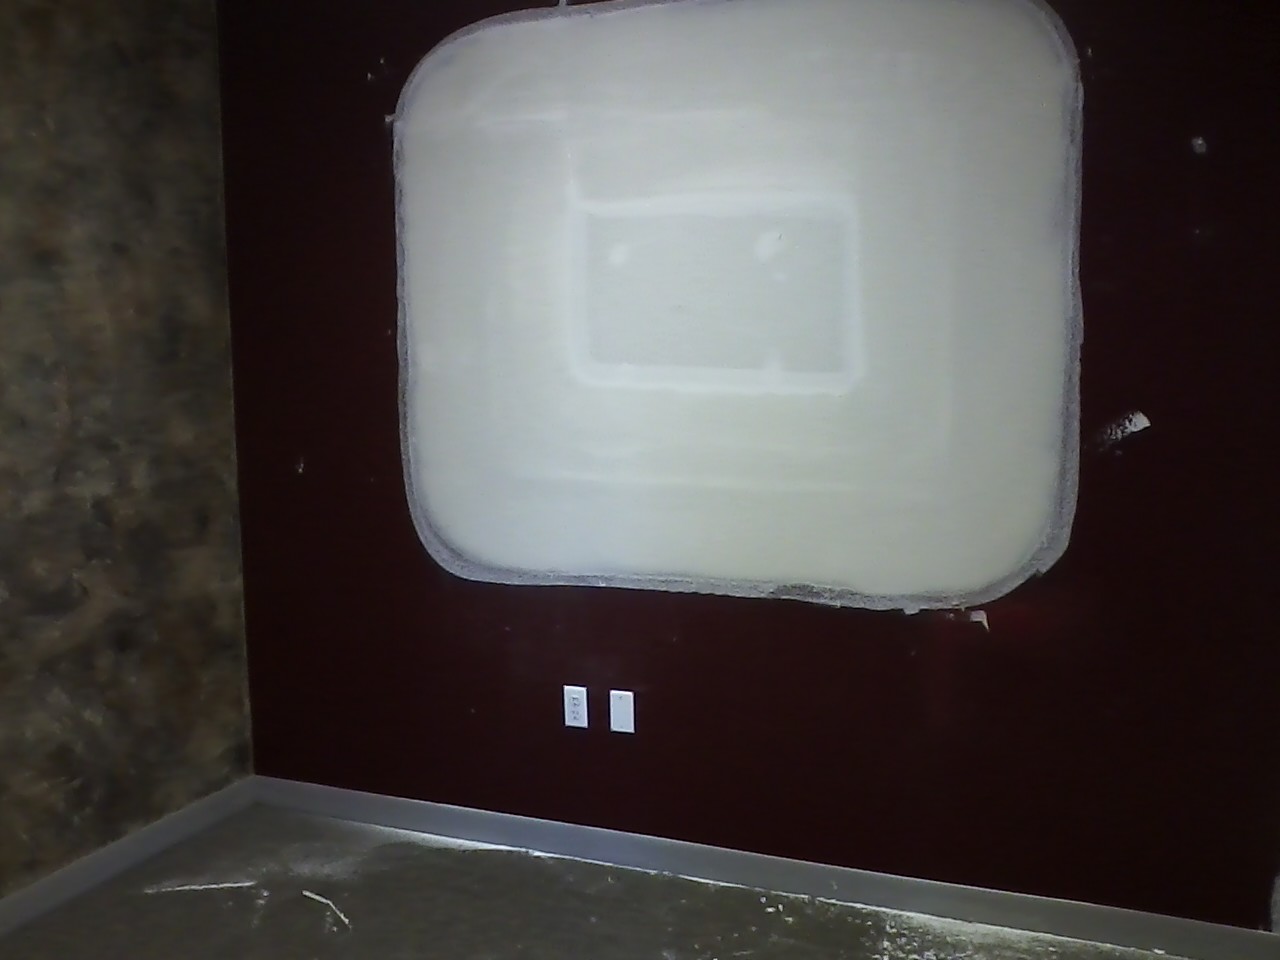
The old office -- no more window, and a fresh coat of paint!


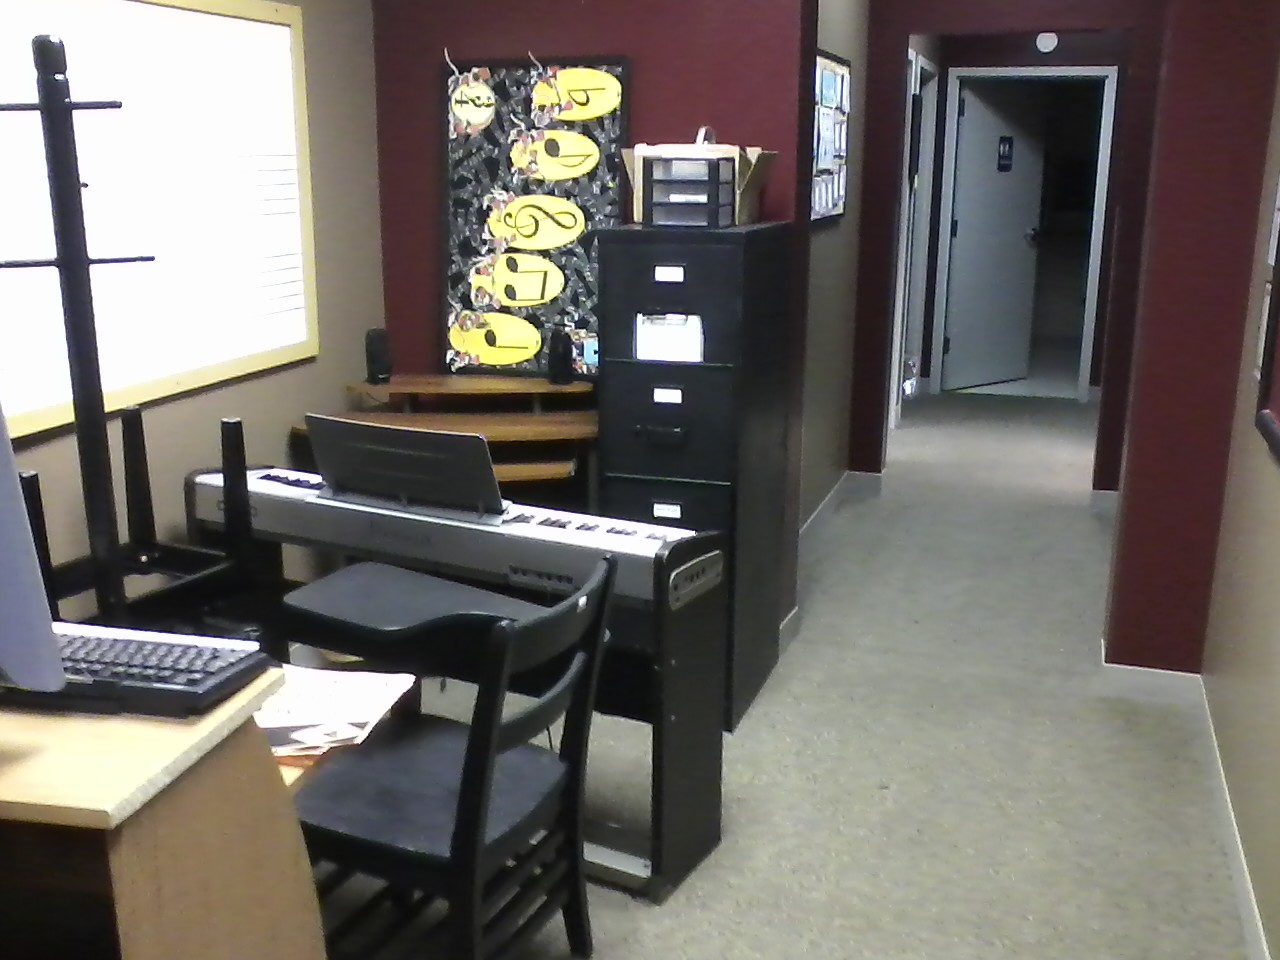
Our computer area for students, where they will be able to access different programs to aid in composition, theory and ear training.


The new office space! Just a bit more here and it can become occupied.

Wednesday, July 24, 2013

Construction Updates Part 2

It’s getting closer to August 1st, which means it’s also getting closer to our expansion being complete and officially open. :)

Enjoy a few progress pictures and sneak peeks of new studio spaces and construction updates! And don’t forget to join us on Saturday, August 10th from 9am to 5pm for our GRAND REOPENING! Activities, games and food will be available the entire day, along with the opportunity to partake in informative sessions with our instructors. Specifics will be coming soon via e-mail and advertisements, so keep an eye out!


Friday, July 19, 2013

Friday's Instrument Care Tip: Trumpets

Giving Your Trumpet a Bath


When I first started playing trumpet, it was difficult remembering to clean out the valves and avoid over-oiling them. This made for sticky situations, and naturally they almost always occurred at concerts -- when a bad moment is least welcome.

My band instructor at the time asked if I ever gave my trumpet a bath. I thought he meant general cleaning of the valves, so I told him yes. He asked me: “So you’ve taken it completely apart and washed it in the bathtub?”

That was something I hadn’t done. Being both new to the instrument and eleven years old at the time, I had just assumed that water was bad for all instruments -- not just the wooden ones. Boy, was I wrong.

When you give your trumpet a bath, it’s important to use just the water, no soap is necessary and would probably do more harm than good. Take all of the valves and slides out of the instrument and let them soak in the water for a little bit. As for water temperature, slightly warm or body temperature (where it feels like you’re not touching anything when you put your hand in it) because brass can be very malleable if submerged in too high of a heat.

After the instrument has soaked for about two minutes, take a scrubbing brush and scrub every area you can get to: inside of the valves, as far into the slides and their spots as you can get, and the bell and mouthpiece area. Sometimes, if you haven’t given your trumpet a bath in a while, this can be a bit disgusting with all of the grime that comes out. But remember, this is a good thing!

It’s important to let your instrument air dry for at least a few hours -- if not an entire day -- so never give your instrument a bath within three hours of needing to play it, or else you’ll get a watery gurgle along with your notes. If you have a trumpet stand, set it on that with a towel underneath so the water can drip out. Also, don’t put the instrument back together until it’s fully dry.

When putting the trumpet back together, you might need to use some slide grease and valve oil. That’s normal, so no worries! Cleaning it was still beneficial!

A good time frame is giving your trumpet a bath once a month or every two months, depending on how often you play. Professionals might clean their trumpets once a week, plus a full bath once a month. Just depends on your goals with the instrument!

The next time you go to play your freshly cleaned instrument, you should notice a difference -- playing should be a bit easier, use less pressure and the valves and slides should also move with ease. 

That is, until the next time it needs a bath. :)

Tuesday, July 16, 2013

A few construction sneak peeks...

As most of you may know, Harris Academy of the Arts has recently been undergoing an expansion process to up the square footage of Harris by 1,500 square feet.. Not only will this free up office and storage space, but it also increased private lesson studios from 8 teaching rooms to 12.

To celebrate the continuing growth of Harris Academy of the Arts, a grand reopening will be held on Saturday, August 10. There will be fun musical activities for the entire family, along with a few extra surprises! During this day, parents and students can come to meet instructors, see our new larger space, and even take the opportunity to enroll in lessons for the term. Attendees may partake in informative sessions with instructors and enjoy a few tasty treats, as well as participate in fun activities and games!

And of course, what good would a construction update be without pictures? :)


Vicki, founder and director of Harris Academy of the Arts, breaks through the wall to open up window space for the new lobby.


Michaela, PR/Communications and assistant to the director, stands by the first cut through the wall where a new hallway will be constructed.


The almost-finished product of the new hallway! Still a ways to go, but much progress!


And also what is currently left of the old office, which will now be fixed up to be a teaching studio.

Monday, July 1, 2013

Making Musical Instruments, continued.

With the month of July beginning and August well on its way, the heat outside is bound to rise significantly. For an activity that's fun, active, and an easy option for indoors -- try making musical instruments! View the previous blog post for additional ideas, or use one of these!

Three Instruments in One (tin can guiro, bongo, shaker)
This homemade instrument is actually three in one! Here's what you'll need:

- One or more empty, clean tin cans
- Rice or dry beans
- Balloons
- Rubber Bands
- Chopsticks/Sticks (anything you can use for a guiro stick!)

And here's how you assemble the above:
1. Making sure the tin can has smooth edges, begin by placing a handful or so of rice or beans into the can.
2. Cut the end of a balloon off and stretch over the opening of the tin can.
3. Secure the balloon to the can using a rubber band.
And there you have it! Shake the can for a shaker, hit the top and use it as a bongo, or scrape the edge with a stick to use it as a guiro. Three instruments in one, in three easy steps!


Homemade Guitar

It can't get easier than this. Find a piece of Tupperware, your choice of size, and a few rubber bands. Secure the rubber bands around the open Tupperware and strum away!!


Friday, June 28, 2013

Making Homemade Instruments


Making a musical instrument is extremely easy. With just a few small steps, you can have your own backyard band! Here are a few options:

Egg Shaker/Maraca
For a shaker/maraca, just throw some uncooked rice or beans (depending on the sound you want) into an Easter egg. Secure it using super glue or something simple as tape if you want to later empty the egg for another use. Once it's secure, shake away!


Sensory Bottle: Rain Stick
A sensory bottle rain stick is easy to make as well. You just need a plastic bottle, plenty of toothpicks, and (optional) wooden skewers. You'll also need an uncooked small grain, such as quinoa or amaranth (these can be found in "bulk bins" at Super Saver and health food stores, so you can just buy the amount you need!) **NOTE** Rice is too big and will not flow freely between the toothpicks to create the sound of rain!

The recommended type of plastic bottle is the tall Glaceau Smart Water bottles -- this gives more time for the grains to fall through and actually sound like a rain stick. Basically, the taller the plastic container/bottle, the better the sound!

Instructions for sensory bottle rain stick:
1. Make sure the bottle is clean, and remove the label if desired.
2. Start filling the bottle with toothpicks. It is optional to place longer wooden skewers diagonally within the bottle to keep the toothpicks from ending up too vertical, however, not a necessary step.
3. Use a funnel to insert the grains into the bottle. 
4. Tighten the lid securely, and enjoy your rain stick!
Optional Step: Once you're sure you have the desired sounds and proportions of "ingredients," you can glue the lid to completely seal the instrument. :)


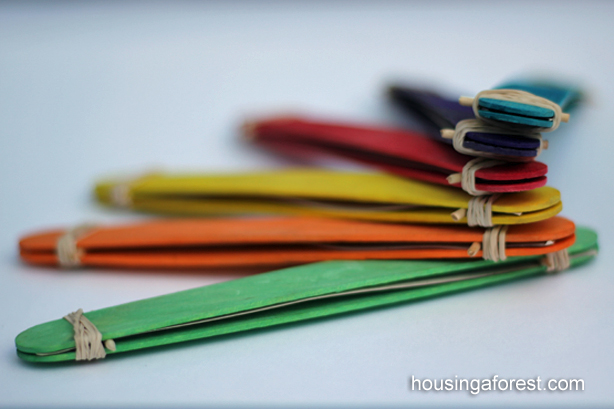
Popsicle Stick Harmonica
Here's what you'll need:
- 2 popsicle sticks (wide ones will work best!)
- 2 rubber bands, or string
- A strip of paper the same size as the popsicle sticks
- 2 toothpicks cut the width (or just above the width) of the popsicle sticks

How to assemble your popsicle stick harmonica:
1. Place the paper strip in between the two popsicle sticks.
2. Wrap one rubber band (or tie string) around one end until it is snug.
3. Slide one toothpick wedge to the inside of the rubber band (or string).
4. Sandwich the last toothpick to the other end of the popsicle sticks.
5. Wrap that end with the rubber band (or string), again making sure it's tight.
**NOTE** Experienced players of the pospicle stick harmonica have found it works best to place one toothpick on top of the paper and one on the bottom, while remaining between the popsicle sticks of course. Fiddle around with a few options to see what works best for you!

And just how do you use this instrument? It's all about air! Simply suck or blow air into it to see what different sounds can be made. You can also squeeze parts of the popsicle sticks together to project different unique sounds.


Be sure to keep checking back for more homemade instrument options! :)

Tuesday, June 25, 2013

Explore the Benefits of Music for Children


One reason Harris Academy of the Arts is able to be set apart from other music studios that provide private music instruction is that it provides classes specifically geared towards children. Not only do we have our Children's Music Academy for ages three to seven, but we also provide different Kindermusik classes for children of all ages -- from four weeks, four months, to four years. 

Below is a brief excerpt from Kindermusik's webpage, which explains in further detail the benefits of music education in a child's life. 

And to receive more information on Kindermusik courses offered at Harris Academy of the Arts, please feel free to call our office (402 - 423 - 7121) or e-mail info@harrisacademyofthearts.com to request more information.


Musical Learning Supports Child Development
Benefits of Music for Children - Kindermusik International
All over the world, parents bond with their babies through musical sounds and rhythmic movement. They rock and swing their children, put them to sleep with lullabies, make them laugh with nursery rhymes. Parents know instinctively what scientists have now proven: young children thrive on music. It’s one of the best vehicles for learning in early childhood development. Kindermusik takes musical learning to the next level; our curriculum is proven to improve child brain development. And, did we mention it's fun for kids and parents alike?!
 

Music matters

Psychologists, neuroscientists, and experts in early childhood development have demonstrated that music does more for children than bring them joy; it helps their brain cells make the connections needed for virtually every kind of intelligence. Kindermusik's curriculum is built on this research.

When young children are consistently engaged by music in an age-appropriate, socially accepting environment, they benefit at many levels:
  • Early Literacy. They gain the phonological processing, spoken language, and comprehension skills that are the foundation of reading.

  • Quantitative. They build the spatial-temporal and reasoning skills required for math, science, and engineering.

  • Social-Emotional. They develop social and emotional skills that are essential for school readiness—like the ability to regulate their responses and relate to others in complex ways.

  • Physical. By moving and dancing to music and playing simple instruments, children improve their gross and fine motor skills.

  • Creative. Activities that encourage freedom within a fun and friendly structure spark children's creativity and provide inspiration.

And of course, they develop a lifelong love of music.

This blog post is courtesy of Kindermusik's webpage,
http://www.kindermusik.com/about/benefits-of-music-for-children/